Last Updated on February 5, 2026 by DIYbunker
I had been wanting to upgrade my gardening setup for a while now, and knew a raised garden bed would be the best start. Since my garden has very compact clay soil, a raised garden would allow me to easily grow a better variety of plants, with the bonus of adding some character to my backyard.
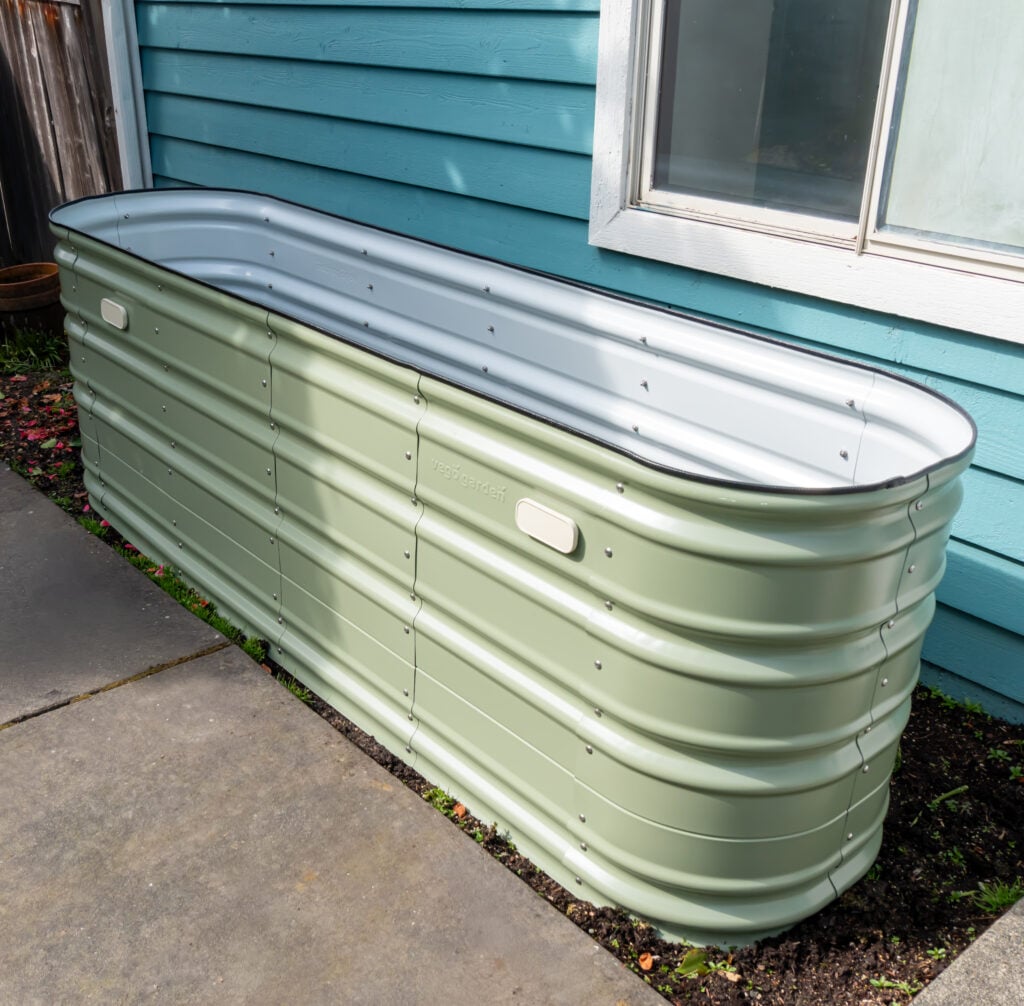
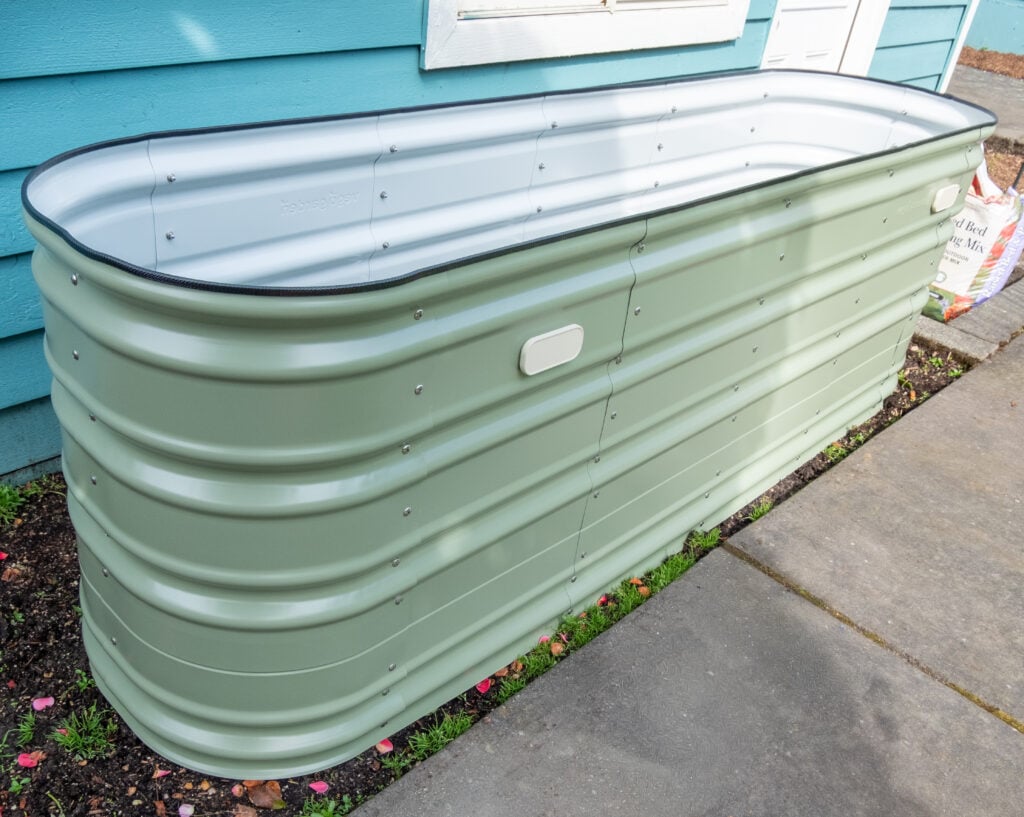
After coming across Vego Garden’s gardening beds, I knew I had to try them out. All of their beds are beautiful, but what really caught my eye was their Novel series. It has such a beautiful, clean look that’s in between their classic garden bed and the modern, which is the exact style I love! I also decided to try out their elevated bed for the added flexibility of being able to roll it around, and so I wouldn’t need to buy as much soil.
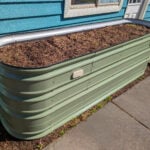
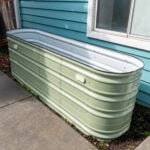
Vego 32″ Tall 9 In 1 Large Novel Raised Garden Bed
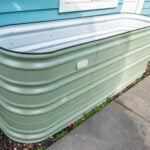
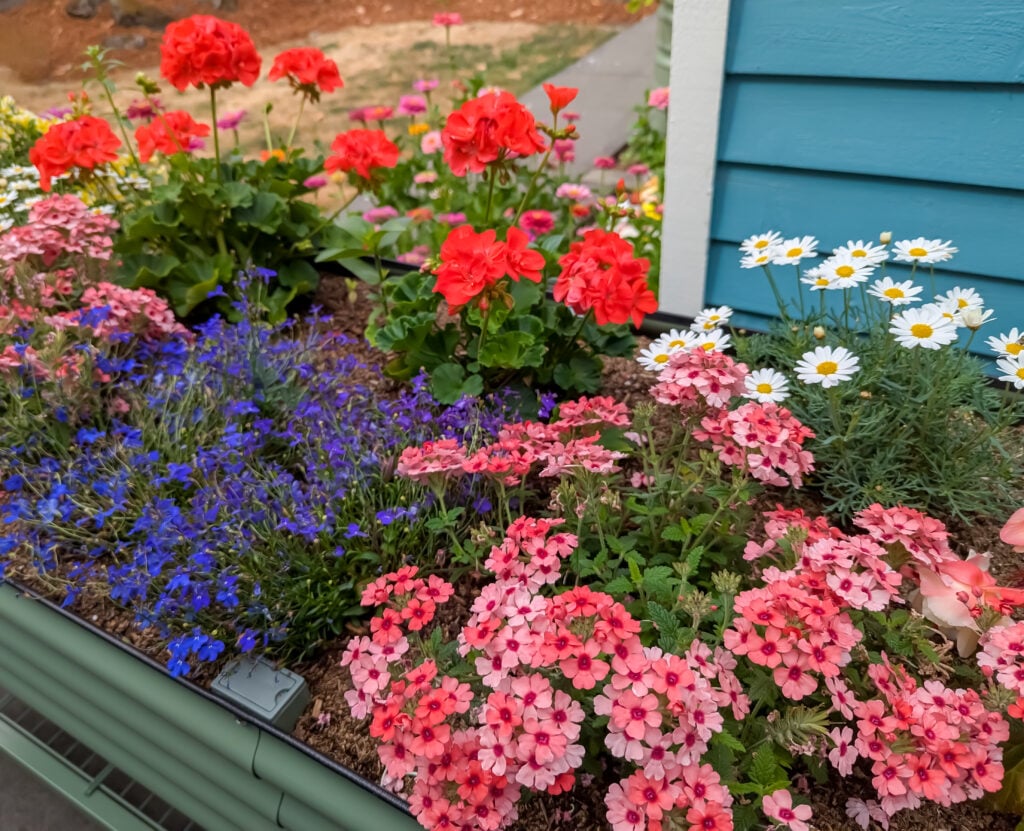
I applied the same in-between philosophy that I used when selecting the garden bed style to choose the color, olive green. It’s a unique and vivid color that stands out, while being neutral enough to keep things looking calm and not too loud.
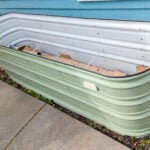
The setup process was pretty straightforward to understand. To speed things along for your setup, here are some tips:
- Set aside time to remove all of the protective wrap. This was the most time-consuming part of the process, and you’ll want to set aside approximately 30 minutes to complete it.
- Place your garden bed kit on a carpeted or soft surface for your own comfort. You’ll be working at a low level for setup.
- If you are setting it up by yourself, you’ll want to assemble it outside, near the spot where it will be long-term.
Filling the Bed
If you are looking to save money on filling your bed, I highly recommend trying out the Hugelkultur method. This garden bed filling method entails adding 5 layers, including cardboard, wood, plant waste, compost, and organic soil. The advantage is that all of these materials will break down in your garden bed over time, providing nutrition for your plants.
Here is the breakdown:
Layer 1 (Bottom): 5% thin cardboard
Layer 2: 45% wood
Layer 3: 10% plant waste
Layer 4: 10% compost
Layer 5: 30% organic soil
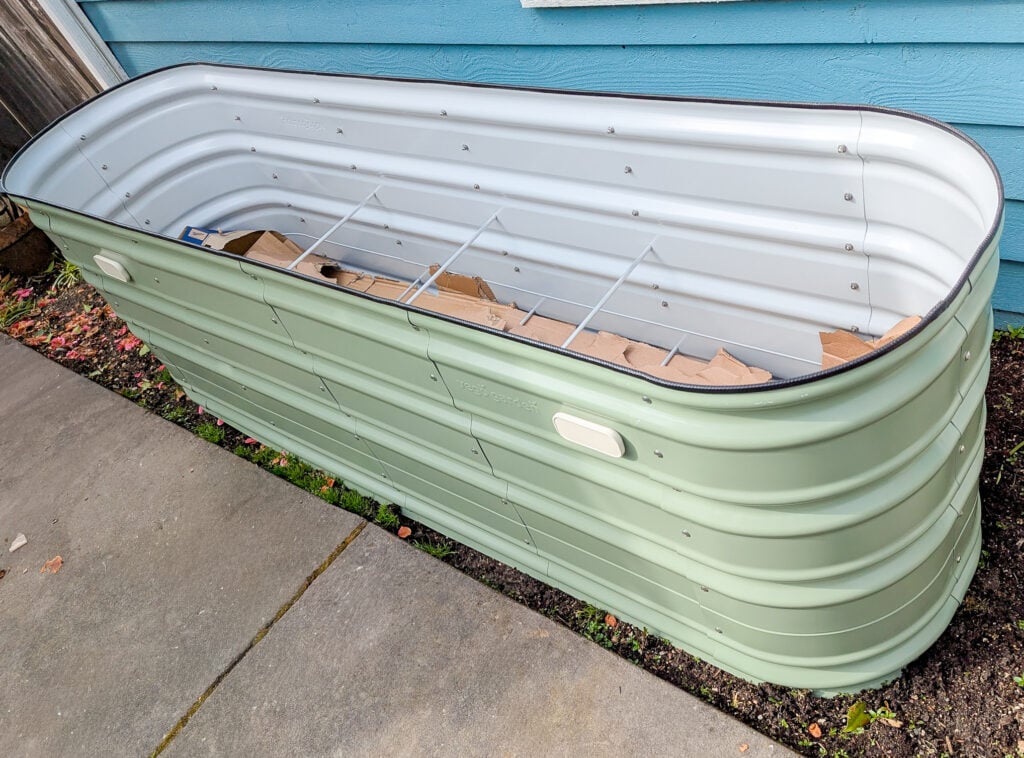
Many people can find these items for free, either from their own yards or those of their neighbors, which is how the money is saved. I am the queen of cardboard boxes (ask my dear husband), so finding a way to make the first layer was a piece of cake for me. Unfortunately, I had already cleared the yard of wood and plant waste, so I ended up filling the rest of my bed with soil and compost.
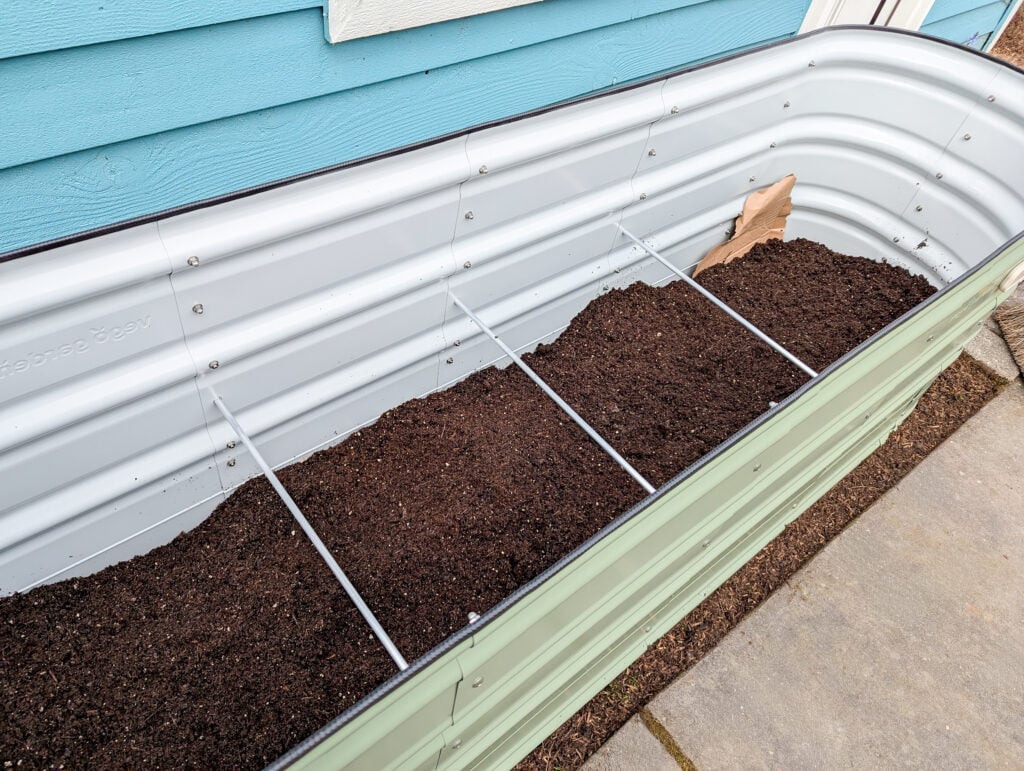
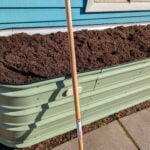
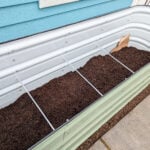
Regardless of whether you use the Hugelkultur method or simply fill with soil and compost, I recommend adding layers over several days. This will allow the material to settle, so you can see the true level of soil you are working with. This is important to prevent your plants from sinking significantly after planting them in the soil.
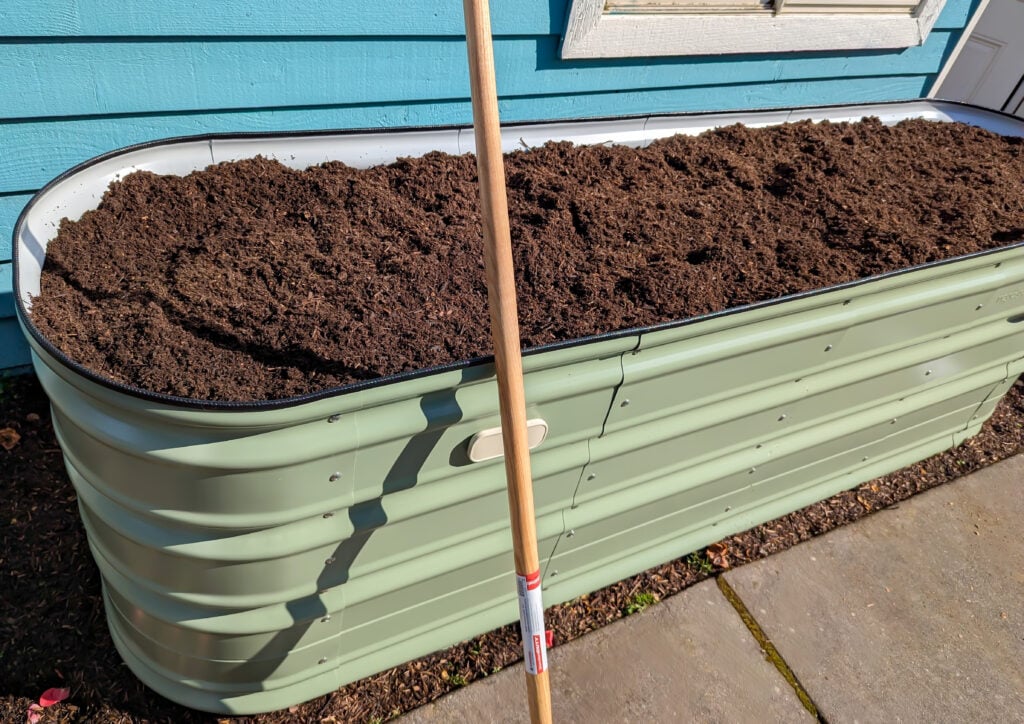
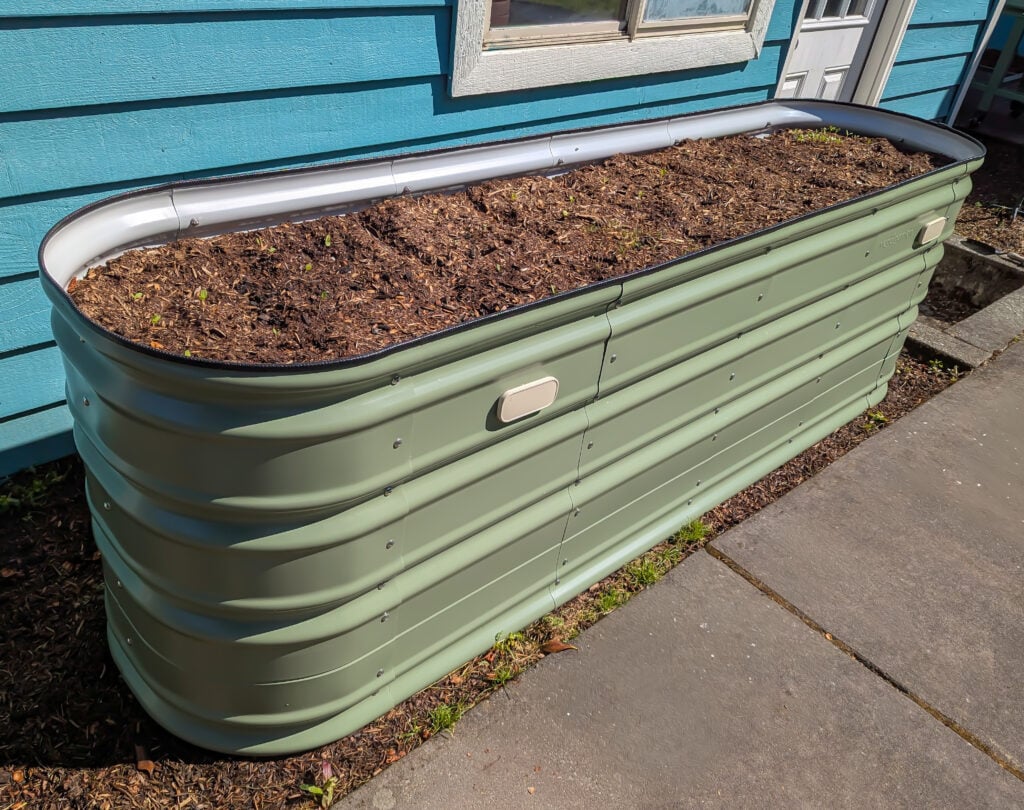
Planting in the Raised Garden Bed
Filling the bed was extremely satisfying, especially at the end with the fluffy, beautiful soil. I couldn’t help but run my fingers through it a few times! I immediately got to work adding in seeds using the square foot gardening method, overseeding in a few places just to experiment.
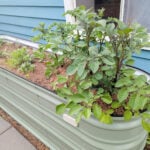
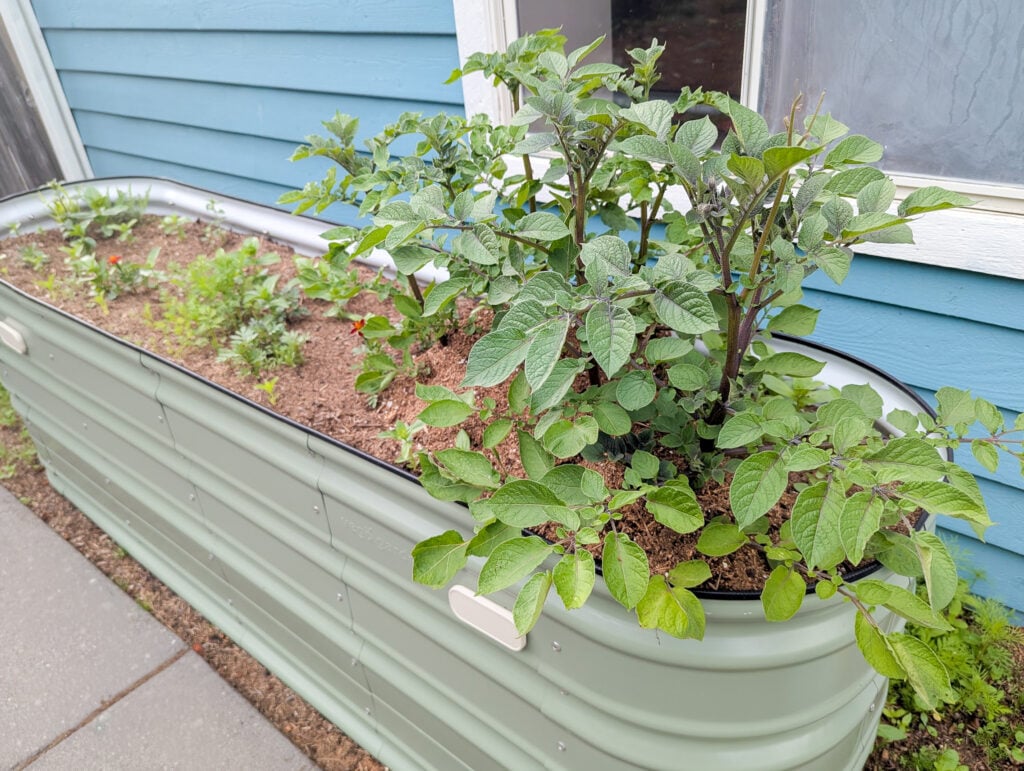
Before long, seeds began to sprout and healthy plants began to make themselves known in the garden. You can see some amazing Magic Molly Potatoes thriving in the corner of the garden bed, below.
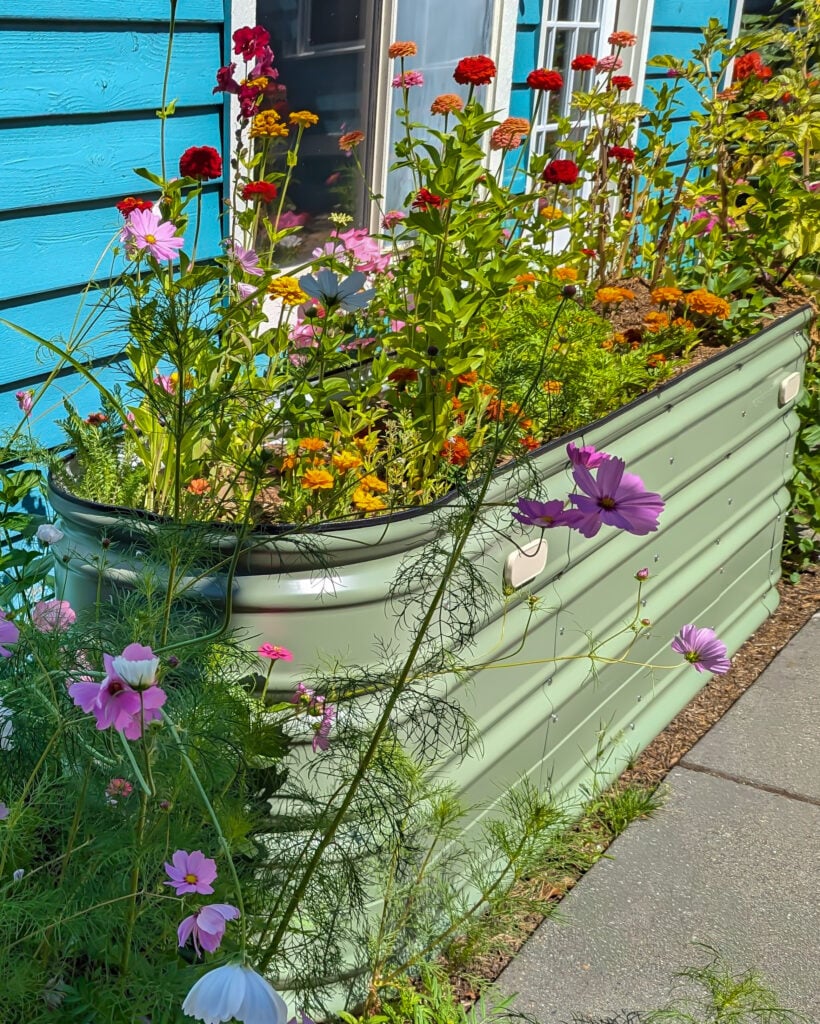
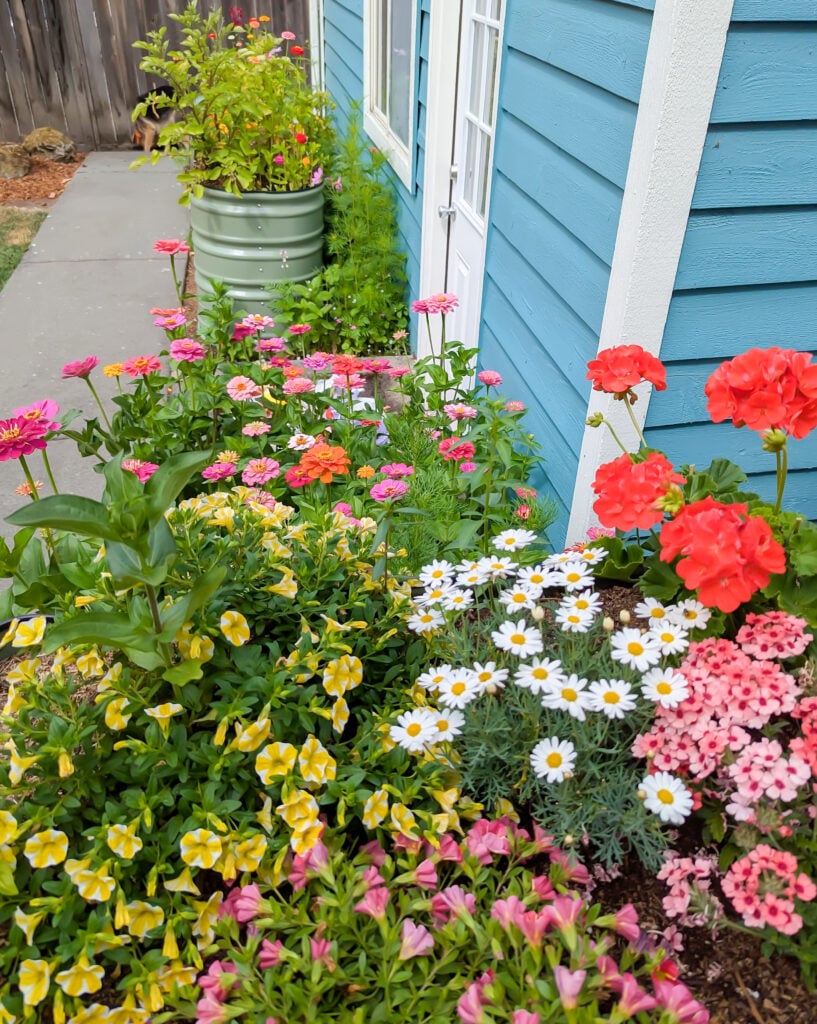
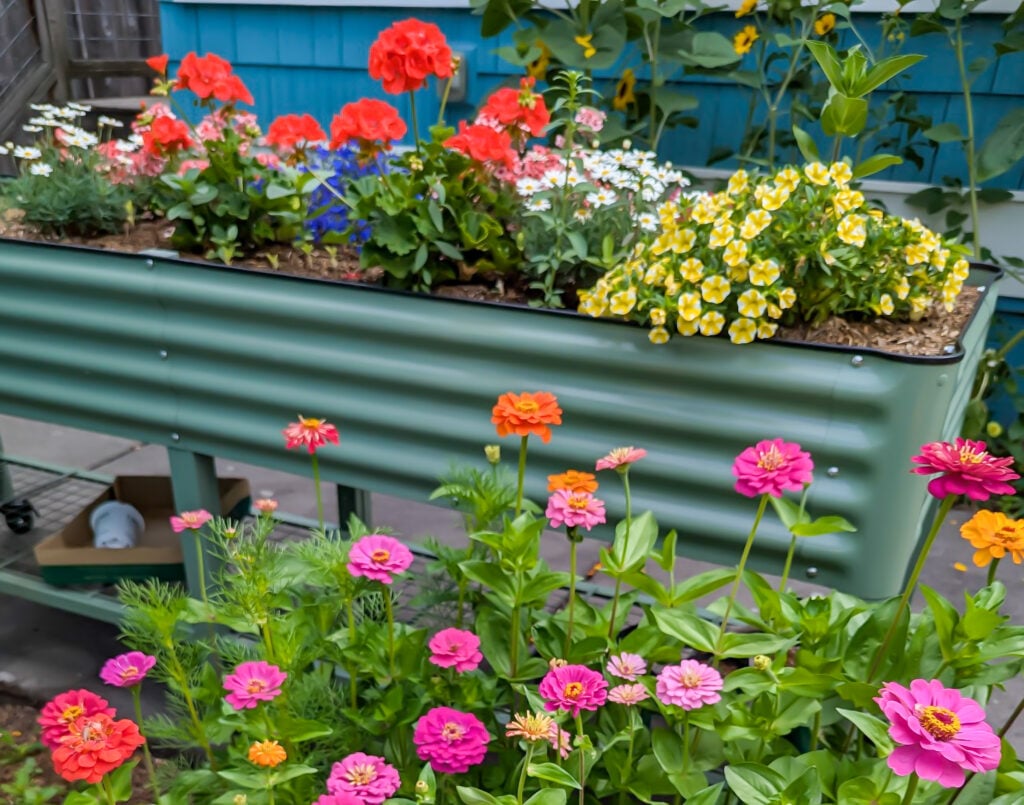
Fast forward, the flowers came in stunningly, and the potatoes got nearer to their harvest date. As you can see, I decided to grow some wildflowers around the garden bed, and I really love how it turned out! The lived-in look combined with the structured garden bed was exactly what I was going for.
Harvesting the Potatoes
I’m excited to share with you that the potatoes were such a success! This was a massive relief to me, as this was my first time ever growing them. As you can see below, for Magic Molly Purple Potatoes, these were HUGE.

I firmly believe using a garden bed was the reason I was able to grow them so large. Having a nice, deep layer of soil allowed the potatoes to grow deeply without fighting compact, dense spots.

On a side note, can we appreciate how these potatoes are shaped like animals? The one in the photo above looks like a walrus to me!
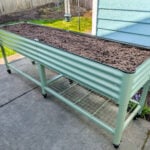
The Elevated Garden Bed, 2’x8′
If you’re considering trying the elevated garden bed, the two main selling points for me (aside from its gorgeous appearance) are, hands down, the ability to roll it around and the amount of soil it saves.
Assembling the elevated garden bed was easy, just like setting up the raised garden bed. I had such an easy time adding seeds and plants as the height is so convenient.
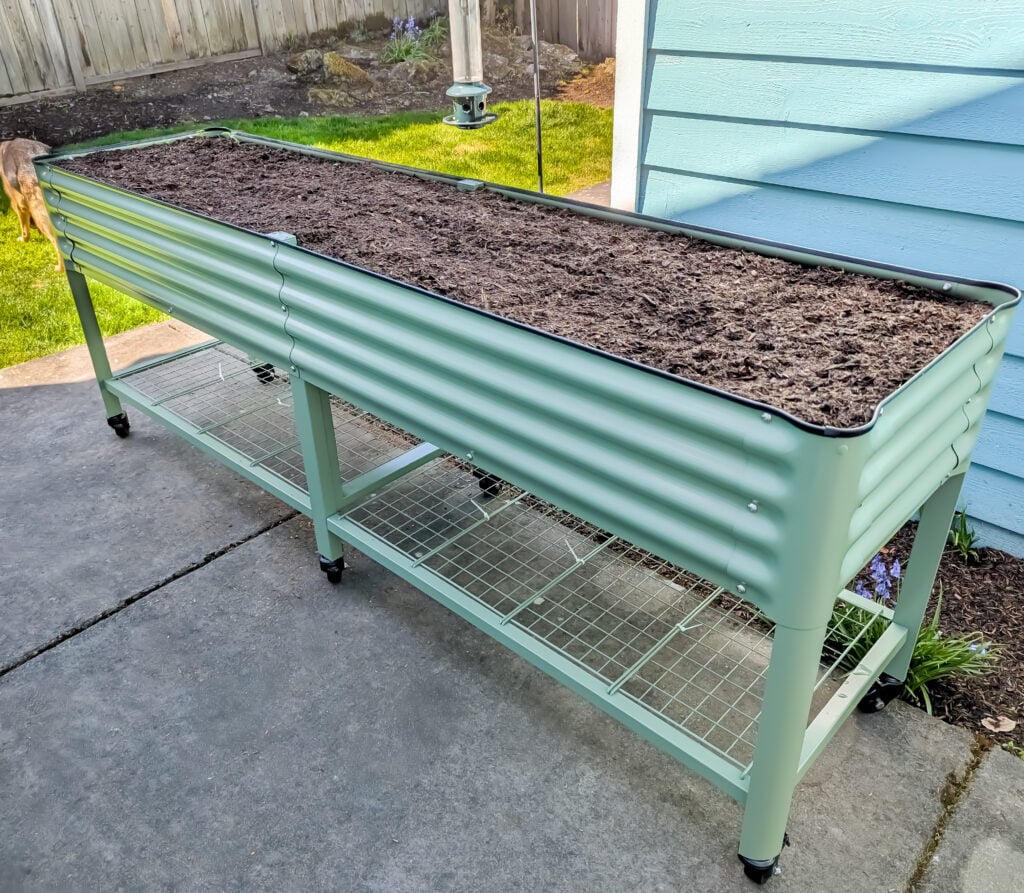
As you can see, there is so much storage below the rolling bed for starting plants in small containers. You can also put some supplies there for convenience.
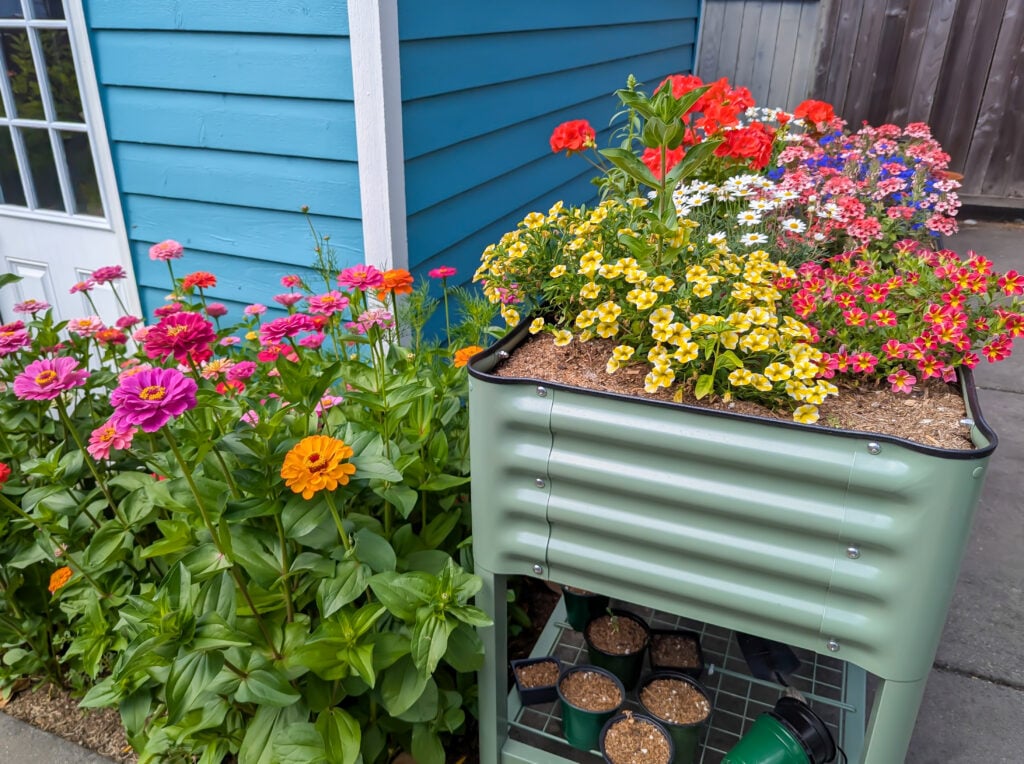
I had a lot of fun moving this elevated garden bed into the perfect spot so that my plants had exactly the amount of sunlight they crave. I placed full-sun plants in the exposed area and partial-shade plants on the opposite end, where the garage would provide some shade during hot afternoons.
What I Think Overall
These Vego garden beds have made gardening so much more fun for me. I find myself just standing in the yard when I have free time just so that I can admire how beautiful everything looks.
The number of compliments I have gotten from family, friends, and neighbors has been a perk, to say the least. People were so amazed at how classy everything looked and how perfect the shade of green is.
I have to tell you, these photos do not do the green justice. I was surprised by the amount of variation in the tone of green, depending on the lighting, and every tone is perfection.
So do I recommend these gardening beds? Hands down, yes. These beds absolutely made this garden season my favorite of all time. I have gained a great deal of confidence in my gardening skills. The desire to go outside and care for my plants has gone up so much, and I can’t wait to try some new things next year!